How to Build a 10×10 Shed in Texas (Beginner Step by Step Plan)
7-minute read
Friday, February 6, 2026


Friday, February 6, 2026
What a 10×10 shed can store comfortably
Step 1: Choose your shed type (wood, kit, or metal)
Step 2: Pick a foundation that makes a 10×10 shed easier
Step 3: Plan your layout before cutting
Step 4: Prep the site and square the footprint
Step 5: Build a strong 10×10 floor frame
Step 6: Frame the walls in a simple order
Step 7: Build the roof and weatherproof it
Step 8: Finish the exterior so it stays dry
Step 9: Add simple storage inside
Common beginner mistakes with 10×10 sheds

A 10×10 footprint gives you room for the items that usually end up scattered across the yard: a mower, trimmer, bags of soil, hand tools, hoses, and seasonal gear. The layout that works best is simple.
Plan for a clear walkway from the door to the back wall so you can step in, set something down, and turn around without bumping everything. Then pick one wall for vertical storage. Hanging long tools keeps the floor open and helps your shed feel larger.
Before you buy materials, decide which shed route fits your time and comfort level.
Wood framing is the most flexible. You can place shelves wherever you want, change the door size, and add storage later without fighting the structure.
Shed kits are a good fit when you want the materials and instructions packaged together. Family Handyman describes shed kits as a popular option because they can simplify planning, but you still need solid site prep and careful assembly to get a straight, sturdy result (Family Handyman shed kit guide).
Metal sheds can be appealing when you want a low maintenance exterior. Lowe’s notes that metal sheds are often chosen for durability and pest resistance, while wood sheds are valued for customization and a more traditional look (Lowe’s metal shed vs wood shed guide).
If you are building from scratch as a beginner, a wood framed shed is usually the easiest to customize and repair over time. If you are choosing a kit, you can still follow the same foundation and layout steps below, then assemble per the kit instructions.

Your foundation sets the tone for the whole project. If it is not level and stable, doors stick, walls twist, and roofing gets harder than it should be.
Here is a quick comparison of beginner friendly foundation options for a 10×10 shed.
| Foundation option | Best for | What to watch for |
|---|---|---|
| Skids | Simple build, shed stays slightly above ground. | Needs a flat, stable base so it does not rock. |
| Gravel pad | Drainage and long term stability. | Careful leveling and compacting matter. |
| Pavers | A clean, raised platform. | Time spent setting each paver level pays off. |
| Concrete blocks or piers | Airflow under the floor and easy access to level points. | Layout must be consistent so the frame is supported. |
Skids are long runners the floor frame sits on. They work well when you want the shed slightly elevated for airflow.
For any wood close to soil or repeated moisture, use pressure treated lumber rated for that exposure. The AWPA Use Category system describes UC4A as ground contact for wood used in contact with the ground or in situations favorable to decay (AWPA U1 excerpt).
A gravel pad is a strong choice in many Texas yards because it encourages water to drain away from the shed.
This Old House recommends over digging the area larger than the shed footprint, digging several inches below grade, compacting the base soil, placing landscape fabric, and then adding and compacting gravel (This Old House gravel shed foundation).
Pavers can work as a platform if you take your time leveling the base. The main goal is to avoid rocking pavers. If one corner settles later, your 10×10 frame can twist and create door problems.
Concrete blocks or piers are useful when you want the floor structure off the ground and you like the idea of leveling at a few support points.
For a 10×10 shed, think of supports as a simple grid, not just the corners. The stronger your support layout, the less bounce you will feel in the floor.
This step saves a lot of frustration.
Choose where the door goes first. For garden storage, it helps when the door faces the easiest path from your yard. Avoid placing it where you will be dragging equipment across a tight corner.
Next, choose your roof style. A single slope roof can be a beginner friendly option because it keeps framing simple. A basic gable roof also works well if you prefer a classic look.
Keep the shed shape simple and resist adding extra corners. Straight lines are faster and easier to square.
Mark a 10×10 square using stakes and string. Then check it for square before you commit.
A simple way is to measure diagonally from one corner to the opposite corner, then do the same for the other diagonal. When those two diagonal measurements match, your layout is square.
Clear sod and roots within the footprint plus a little extra around it. If you are doing a gravel pad, follow the over digging and fabric steps. If you are doing skids, pavers, or blocks, your goal is still the same: a level, stable base that drains well.
Build your floor frame first. It gives you a flat surface to work on and helps you keep walls straight.
Start with the outer frame, then add joists. Take your time making it square. If the floor is out of square, wall panels do not line up cleanly and doors become a fight.
Once the frame is square, add the decking. If you are using plywood or OSB panels on the roof or floor, leaving space between panels can help reduce buckling as the panels expand. APA recommends a 1/8 inch gap between adjacent panel edges and ends unless the panel maker says otherwise (APA builder tip N335).
Wall framing is easier when you follow a consistent sequence.
Build one wall flat on the floor, then stand it up and brace it so it stays plumb. Repeat for the next wall.
Start with the door wall. Keep the door opening straightforward and centered if it makes sense for your layout. Once the door wall is straight, the rest of the shed falls into place faster.
As you raise walls, add temporary bracing. A 10×10 frame can shift while you work, especially if weather changes quickly.

Set your roof framing, then add roof sheathing. Make sure the roof plane is consistent so the roofing sits flat.
After sheathing, install underlayment and your roofing material. Keep edges neat and sealed. A watertight roof does more than protect tools. It also keeps the framing stable over time.
Pick an exterior that matches your shed type.
For wood framed sheds, you can use panel siding or traditional siding, then add simple trim. Focus on keeping water from entering at seams and around the door.
For metal sheds or metal skinned kits, follow the kit’s sealing steps carefully. Small gaps can let wind driven rain inside.
A basic shed door can be simple and still work well if it is built straight, hung level, and braced so it does not twist.
Keep this part light and practical.
Add one shelf wall for small items and hang long tools on hooks. Store bags and anything that can leak off the floor. The less clutter on the ground, the easier it is to keep the shed dry and easy to use.
Most shed problems start with the base.
If the foundation is uneven, your floor frame fights you. If the floor frame is not square, your walls drift. If the walls are not plumb, doors stick. If the roof is rushed, leaks show up when you least want them.
Slow down on the steps that control alignment. A careful day of layout and leveling can save multiple weekends of rework.

If you like the idea of a 10×10 shed but want it designed and built by a local team, a Shed Builder in Austin can help you get a clean, durable result without the guesswork. You can explore our shed building service here.
1) Can I build a 10×10 shed with basic tools
Yes, if you keep the design simple and work in a clean sequence. The biggest difference is planning and layout, not fancy equipment. A square, level base and a square floor frame make basic tools feel like enough.
2) Which foundation is easiest for beginners
Skids can be a beginner friendly option because the shed structure stays above ground and you can adjust it. Gravel pads take more site work, but they often hold up well because they manage water and support the shed evenly.
3) Is a shed kit easier than building from scratch
A kit can be easier because it reduces planning and bundles materials, but you still need good site prep and careful assembly. If you want full control over door placement and interior storage, wood framing gives you more flexibility.
4) How do I keep a shed door from sticking later
Start with a level base and a square floor frame. Then brace the walls while you build so the opening stays straight. Doors usually stick when the frame shifts or twists over time.
5) What roof style is simplest for a beginner
A single slope roof is often the simplest because it uses fewer parts and fewer cuts. A basic gable roof also works if you keep the layout straightforward and take your time aligning the framing and sheathing.
SERVING AUSTIN, SAN ANTONIO, HOUSTON
And Surrounding Areas
Small House Solutions Offers the Following Services at NO COST to You
Personalized solutions for your inquiries directly.
No-cost ZOOM consultation for in-depth discussions.
Custom Home Builder Austin
Custom Home Builder Bastrop County TX
Custom Home Builder Bell County TX
Custom Home Builder Bexar County
Custom Home Builder Blanco TX
Custom Home Builder Boerne TX
Custom Home Builder Burnet TX
Custom Home Builder Cedar Park TX
Custom Home Builder Caldwell County
Custom Home Builder in Cibolo TX
Custom Home Builder Comal County TX
Custom Home Builder Converse TX
Custom Home Builder Copperas Cove TX
Custom Home Builder Fredericksburg TX
Custom Home Builder Georgetown TX
Custom Home Builder Guadalupe County TX
Custom Home Builder Harker Heights TX
Custom Home Builder Hays County TX
Custom Home Builder Houston
Custom Home Builder Hutto TX
Custom Home Builder Kendall County TX
Custom Home Builder Killeen
Custom Home Builder Kyle TX
Custom Home Builder Lakeway
Custom Home Builder Leander TX
Custom Home Builder Leon Valley TX
Custom Home Builder Live Oak TX
Custom Home Builder Lockhart TX
Custom Home Builder McLennan County TX
Custom Home Builder New Braunfels
Custom Home Builder Pflugerville TX
Custom Home Builder San Antonio
Custom Home Builder San Marcos TX
Custom Home Builder Seguin TX
Custom Home Builder Schertz TX
Custom Home Builder Taylor TX
Custom Home Builder TX
Custom Home Builder Universal City
Lake Travis Texas Custom Home Builder
Custom Home Builder Waco TX
Custom Home Builder Williamson County TX
Custom Home Builder Round Rock TX
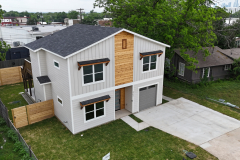
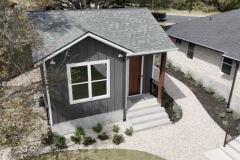
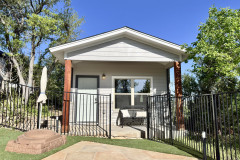
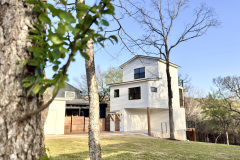
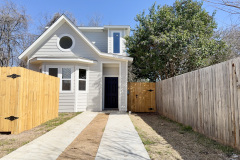
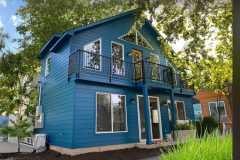
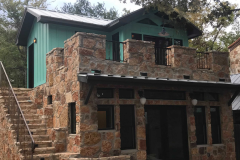
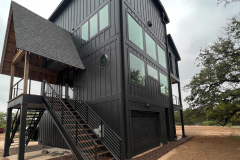
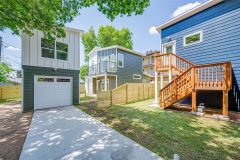
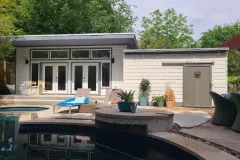
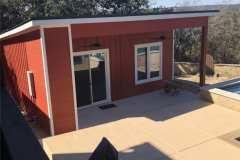
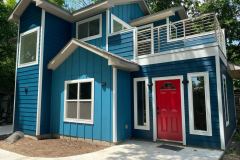
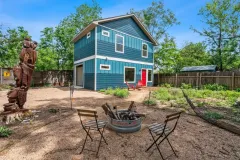
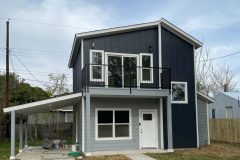
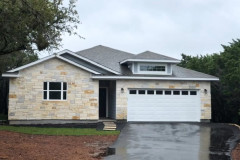
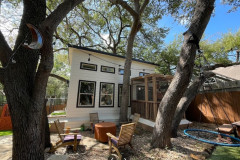
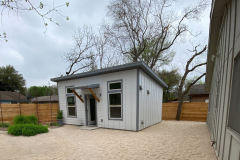
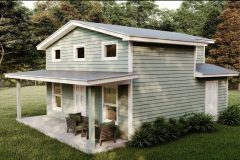
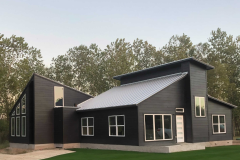
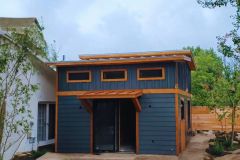
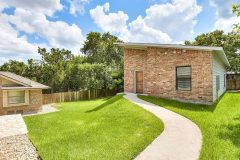
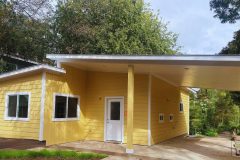
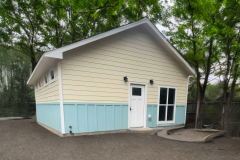
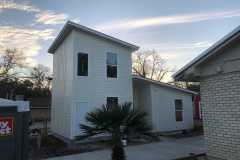
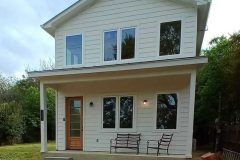
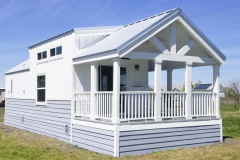
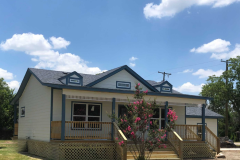
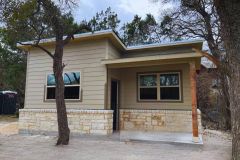
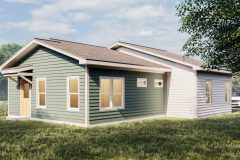
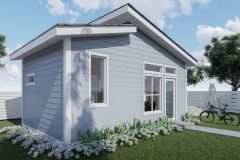
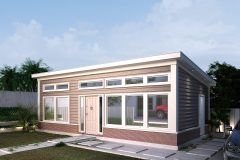
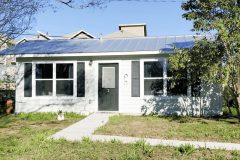
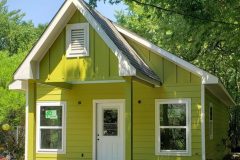
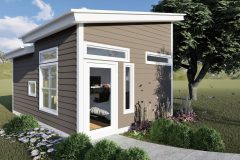
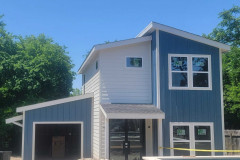
Wonderful Projects of Small House Solutions

 Scroll to top

Free project-fit consultation
Get clear next steps on project fit, budget range, site questions, and whether Small House Solutions is the right design-build partner for your property.
Choose the option that is easiest for you. Either consultation can help confirm whether your scope and budget are aligned before deeper planning begins.
As you prepare for this project, please bear in mind that “small” does not equal “cheap”. We are not a low-budget builder.
Our project contracts range from $240 to $500+ per square foot, with cost decreasing as square footage increases. Due to current market conditions, we cannot offer construction contract pricing under $150,000, with the exception being accessory structures with no plumbing (i.e.: backyard office). If your specified budget is not realistic for your project, we will respectfully cancel your consultation with an email response as to why.
We look forward to speaking with you.