
The Austin ADU Permit Process, Step by Step
The Austin ADU permit process has a clear order, but not a guaranteed calendar. It moves from property research and drawings through City review, corrections, activation, construction, inspections, and final sign-off.
Site conditions, missing information, and requested changes can add time. Small House Solutions can organize the sequence and responsibilities; the City and licensed professionals make the approvals.
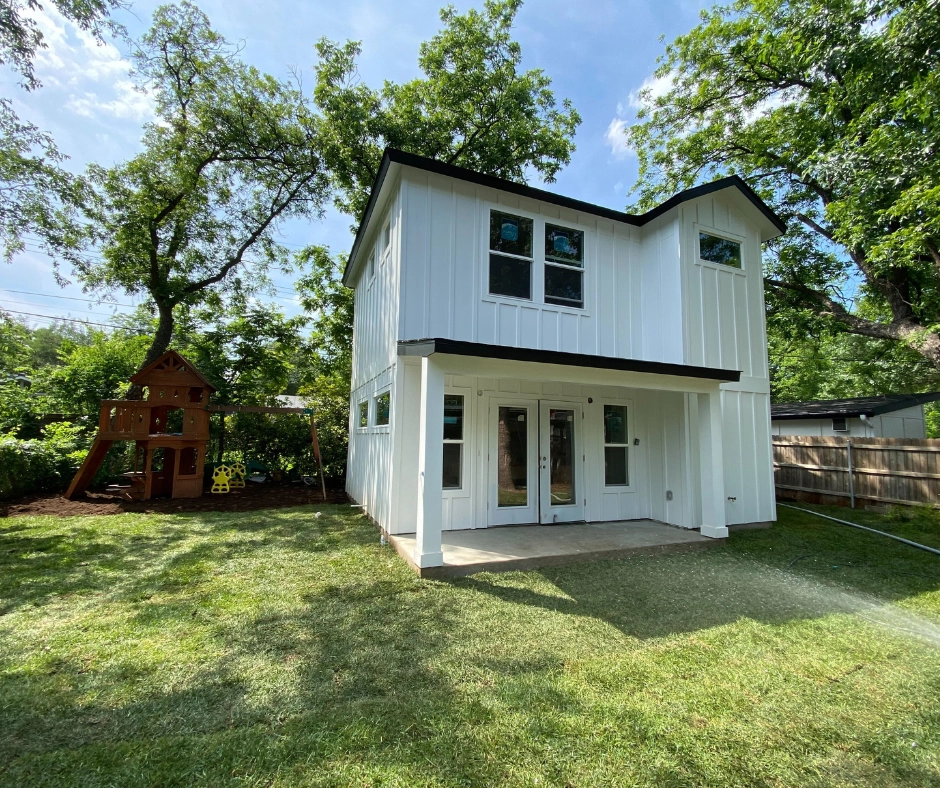
Your address guides the next right step.
Your site information shapes the drawings, the drawings support City review, and an active permit lets the build and inspections move forward.
Check the lot before paying for plans.
Your address, existing structures, trees, drainage, access, and utilities shape what can be submitted.
City comments are a normal step.
The City may send a list of requested changes. Answer every item and send the complete updated drawing set.
Work begins after the permit is active.
Approval, payment, activation, posted permits, approved drawings, and the inspection plan come first.
Here’s what happens, in order.
Your Austin ADU moves from property checks to drawings, City review, corrections, permit activation, construction, and final sign-off. Extra tree, drainage, utility, or trade work can add steps, so use this as a helpful roadmap, not a guaranteed deadline.
Start with your property
Check the address, whether the City reviews it, zoning, existing units, access, trees, drainage, utilities, and intended use before design decisions become expensive. Start with the 12-point Austin ADU feasibility check, then use our Austin ADU rules guide for the current pathways.
You + design teamGather a survey and site details
Collect the information needed to place the ADU, show setbacks, locate utilities, understand grades, and identify site limits that public records alone cannot confirm.
Surveyor + design teamCreate the design
Turn your goals into a site plan, floor plans, elevations, sections, energy notes, and a realistic scope that can be reviewed as one complete project.
Designer + youBring in the right professionals
Add structural, mechanical, electrical, plumbing, tree, drainage, or other specialist documents when the property or project requires them. Use the Austin ADU utility planning guide to keep service routes and trade responsibilities visible before submission.
Design team + specialistsPrepare your permit application
Use the current City application and checklist, then gather the drawings, supporting documents, owner details, contractor details, and fees required for your project.
You + coordinatorSubmit and pay the review invoice
Send the application through the City’s residential permit form or online account. Once the City accepts it and the invoice is paid, review can begin.
You or your representativeRespond to City comments
Read the City’s comment list, assign every item, update the complete drawing set, and send the requested documents. Extra review fees may apply to later updates.
You + design teamActivate the approved permit
After approval, the permit still needs to be created, paid, and activated by the registered contractor or eligible homeowner before work starts.
Contractor or eligible homeownerBuild, schedule inspections, and finish
Build with the active permit, keep approved drawings available, coordinate trade and environmental inspections, pass final inspections, and collect the final documents.
Builder + trades + youGood site information makes a better application.
The City asks for different drawings and documents depending on the project. Start with the facts that help your team design the right ADU for the right lot. If you need help checking the property before design, see our feasibility-first ADU builder service.
Property address and City review area
Gather the address, zoning information, special zoning rules, and the City office that will review your application.
Survey or dependable site measurements
Show property lines, structures, grades, easements, setbacks, trees, drainage, access, and utility locations at the level your project needs.
What already exists on the lot
Document the homes or units that are already permitted or occupied and explain what the new ADU should do.
Utility information
Water, wastewater, electric service, HVAC, trenching, meters, panel capacity, and trade responsibilities can affect the drawings and inspections.
Who is doing what
Decide who will submit the application, answer City comments, activate the permit, schedule inspections, manage changes, and hand over the final documents.
What happens after you submit.
After you submit, the City checks the application, reviews the drawings, sends any requested changes, and moves the approved permit toward activation. Knowing what happens next makes the process less stressful.
Application check and invoice
The City checks that the application has the required starting information. Once accepted, you receive an invoice; review starts after it is paid.
City plan review
City reviewers compare your drawings and documents with the building, zoning, and technical rules that apply to your project.
Comments to address
If the City needs changes, you receive a comment list. Give each comment an owner, answer it clearly, and update the drawings where needed.
Approval and permit creation
When the final review is complete, the City creates the permit and sends instructions for payment and activation.
Published review time is not the project schedule: as of the last check, Austin’s Residential Plan Review page listed 10 business days for New Construction & Additions. That timing begins after the City accepts and you pay for the application; it does not include design, missing information, corrections, utility work, construction, or inspections.
Answer every City comment in one coordinated update.
A clear, complete response helps the reviewer close the loop. A partial answer can leave a comment open or create a new problem elsewhere in the drawings.
- Read every comment. Note whether each answer needs a drawing, calculation, explanation, or revised form.
- Give each comment an owner. Send it to the designer, engineer, surveyor, contractor, owner, or utility contact who can answer it.
- Update the complete drawing set. The City may need the full set, not only the pages that changed.
- Check for knock-on effects. A site-plan change can affect setbacks, structure, utilities, drainage, energy notes, cost, and construction order.
- Send the update and save the record. Keep the accepted update, invoice, comments, responses, and current drawings together.
What comments often cover
Missing documents, inconsistent dimensions, unclear unit counts, incomplete site information, tree or drainage questions, utility conflicts, and notes that do not match the drawings.
Who responds?
The person who submits the application owns the response. Your designer or specialist should prepare the technical answer within their area of work.
What if you change the plan?
Changes after approval may need a new application or extra review. Ask before making a field change so it does not become an inspection or final sign-off problem.
An approved permit is not active yet.
The City treats an approved permit and an active permit as two different steps. Complete the handoff before materials arrive or work is covered.
Confirm the permit number and the latest drawings approved by the City.
Make sure your registered general contractor, or an eligible homeowner, can activate the permit.
Connect the contractor or homeowner account to the permit and finish registration.
Pay the permit fees through the AB+C Portal or the City’s approved payment route.
Activate trade permits when the project needs mechanical, electrical, plumbing, or other trade work.
Post the permit where it can be seen from the street and print the approved drawing set.
Confirm the first inspection available on the active permit before scheduling field work.
Keep the approved drawings, permit information, and inspection history available on site.
Important: if the work in the field differs from the approved permit, you may need a change request or revised application. Ask before proceeding so the change does not become an inspection or final sign-off problem.
Build with the inspections in mind.
Inspections are not just a final-day check. The person responsible for the permit schedules the required order, keeps the site accessible, and makes the current approved drawings available to the inspector.
Before work is covered
Schedule the layout, foundation, framing, rough-in, and other inspections that apply to your approved scope.
- Keep access clear and the address visible.
- Complete each required inspection before covering the next layer.
Trade and site checks
Mechanical, electrical, plumbing, tree, drainage, and other department inspections may happen alongside the building sequence.
- Use the inspection list on your permit.
- Coordinate trade contractors before requesting a visit.
Final inspection and sign-off
Fix failed or partial inspections, finish the punch list, and request final inspections when the project is ready for sign-off.
- Collect final approvals and required documents.
- A successful final inspection can support a Certificate of Occupancy when it applies.
The City says inspections are usually performed about 24 hours after scheduling, but workload can move the visit to the next business day or 48 hours. Treat that as a scheduling note, not a promise for your project.
Keep a simple project record from start to finish.
Ask who owns each document, where it is stored, and what must be current before the next person can act. A simple shared record keeps the project clear for you, your builder, the designer, the inspector, and the future owner. For local proof, review the Clearfield ADU project stages and completed Austin projects, compare the scope with our Austin ADU cost guide, and see how permitting fits into the full ADU design-build process.
| Stage | What you should have | Who usually owns it |
|---|---|---|
| Research | Address review, site constraints, decisions made, and questions still open | You + builder/design team |
| Design | Site plan, floor plans, elevations, sections, code notes, engineering, and trade coordination | Design team + specialists |
| Submission | Application confirmation, invoice, uploaded documents, and portal/project number | You or your representative |
| Corrections | City comment list, response log, revised complete drawing set, and accepted update | You + design team |
| Activation | Active permit, registered contractor, paid fees, posted permit, and approved drawing set | Contractor or eligible homeowner |
| Final sign-off | Passed final inspections, Certificate of Occupancy or Completion when applicable, final documents, warranties, and owner handoff | Builder + you |
How long will your permit take?
There is no honest one-number answer for every Austin ADU. This table shows what can move the date and how to think about each stage.
| Stage | What can change it | A realistic way to think about it |
|---|---|---|
| Property research | Address data, survey availability, trees, drainage, easements, utilities, and intended use | Answer the biggest unknown before finalizing a plan. |
| Survey and design | Existing conditions, project complexity, engineering, specialist availability, and your decisions | Square footage alone cannot tell you how long design will take. |
| City plan review | Accepted application, paid invoice, project type, review areas, and City workload | As of July 31, 2026, the City listed 10 business days for New Construction & Additions; corrections take additional time. |
| Corrections | Number and type of comments, response quality, complete-set updates, invoices, and repeat review | A complete response is usually faster than several partial uploads. |
| Activation | Registration, account connection, permit fees, contractor assignment, and related trades | Work starts after the permit is active and the site is ready for inspection. |
| Construction and inspections | Scope, weather, trade order, material lead times, inspection results, and field changes | Protect the sequence and do not cover work before the required inspection. |
City processes and review times can change. Recheck the official pages below before you submit.
Use the City’s current pages when you’re ready to act.
This guide explains the process in homeowner language. The City of Austin controls applications, fees, comments, permit status, inspections, and certificates. For the property-first planning context behind the process, see the Austin ADU rules guide.
Residential Plan Review
Find the current application, drawing requirements, process steps, review times, and residential forms.
See the City’s plan-review page →Apply for a residential building permit
Use this City overview to see whether your project needs a permit and where to begin.
See the City’s permit overview →Activate an approved permit
Follow the registration, account, payment, activation, posting, and approved-drawing steps.
See the activation instructions →Building Inspections
Find inspection scheduling, site-readiness guidance, residential checklists, and final-inspection resources.
See the inspections page →Schedule a Building Inspection
See how to schedule online or by phone and what to expect after you request a visit.
See scheduling instructions →Certificate of Occupancy
Learn what the City says about a Certificate of Occupancy after a successful final inspection.
See the City’s CO page →Sources checked July 31, 2026. Reviewed by the Small House Solutions permitting team. City pages, forms, fees, and review times can change after publication.
Permit questions homeowners ask.
Which plans and documents do I need?
Your package depends on the project and the lot. Start with the City’s Residential Plan Review application and checklist, then confirm whether you need a survey, site plan, structural drawings, energy information, tree or drainage documents, and mechanical, electrical, or plumbing plans.
Who submits the Austin ADU permit?
You, your builder, your designer, or another representative can coordinate the application, depending on your agreement. The person who submits it must provide the documents and answer City comments. After approval, a registered general contractor or eligible homeowner handles activation and inspection responsibilities.
What usually causes permit delays?
Common causes include missing or inconsistent documents, unpaid invoices, unresolved site questions, tree or drainage review, utility coordination, incomplete responses to City comments, repeat updates, contractor registration, field changes, and inspection corrections.
When can construction start?
Wait until the permit is approved, paid, activated, posted, and supported by the current approved drawings and inspection plan. Confirm the first inspection and any prerequisites before covering work or changing the approved scope.
Does a final inspection finish everything?
A successful final inspection can support a Certificate of Occupancy for qualifying new construction or significant renovations, but you may still need trade, environmental, occupancy, stocking, or other final sign-off steps. Check with the inspector and the City’s current instructions.
Let’s map your permit path before the floor plan gets expensive.
Send us the Austin address, what you want the ADU to do, your rough budget and timing, and any survey or property documents you already have. Small House Solutions can help you understand the next property, design, permitting, utility, and construction decisions.